How to Replace a Blower Motor Relay
A blower motor is a mechanism that allows HVAC systems to distribute heated air. This piece of equipment makes it possible for structures of all sizes to maintain a comfortable indoor climate. Blower motors are a common component in a home, commercial, and automotive HVAC systems.
The blower motor relay is an essential component in a functioning HVAC system. Replacing a malfunctioning relay restores your system’s ability to keep your home, building, or vehicle comfortable.
How Does a Blower Motor Work?
In an HVAC system, the thermostat sets the conditions for engagement. Sensors in the thermostat monitor the space’s temperature. When readings dip below the predetermined threshold, the thermostat signals the furnace to create heat.
The blower motor then pulls the warm air out of the furnace and powers a fan that pushes heated air out through vents and into the structure’s rooms.
There are two main types of blower motors.
- Single-speed units operate on an on/off switch. These motors operate at a consistent speed until the desired temperature is achieved.
- Multi-speed models allow variable fan speeds, which can help alleviate cold spots and make other temperature adjustments. Variable speed motors are also more energy efficient; since they can control small temperature shifts, multi-speed units don’t use as much fuel to heat up larger spaces.
How to Identify a Failing Blower Motor Relay
In a blower motor, the relay supplies the power that allows the fans to circulate warmed air. Essentially an on/off switch, the blower motor relay’s reactions start and end the heating process in HVAC systems by controlling the flow of current between the power source and the motor.
Blower motor relays tend to wear out over time from the stress of constantly flicking back-and-forth.
These signs indicate a possible issue with the blower motor relay.
- When the blower motor does not respond at all, it may not be due to mechanical failure within the motor itself. Since the relay supplies the current that makes the motor move, a nonresponsive motor may be the result of a worn out relay.
- The blower motor relay does more than channel electrical current. Relays are a vital protection against electrical surges. When the relay receives a jolt of strong current or simply cannot manage and distribute its load, it will send excess current into the fuse. This forces a shutdown which protects the entire system from electrical damage. Thus, blown fuses could be a sign of relay issues.
- Blower motor relays handle a large amount of current. Malfunctioning relays aren’t able to distribute their load properly. This can cause the relay to retain excess heat and become warm to the touch. If left unaddressed, the heat from a compromised relay can melt away the plastic casing and components around it. In extreme cases, the panel or fuse box can sustain damage as well.
A malfunctioning relay means the HVAC system can’t distribute the treated air until the problem is corrected.
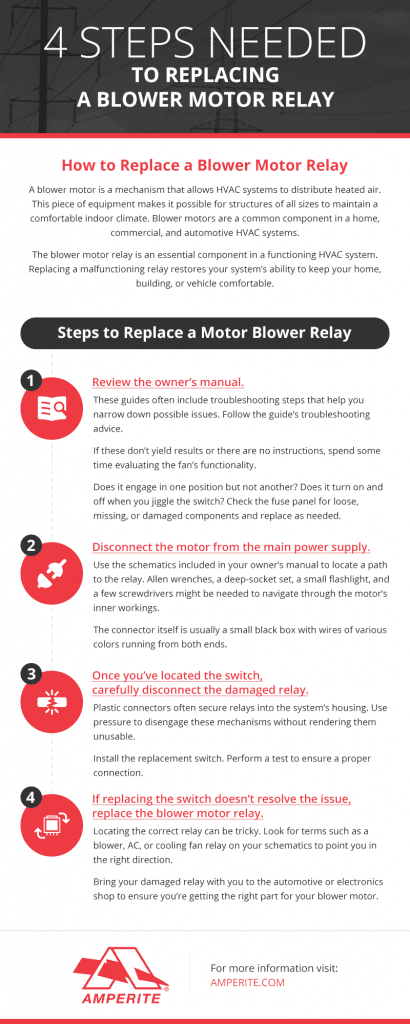
Steps to Replace a Motor Blower Relay
Follow these four steps to successfully restore motor blower functions:
- Review the owner’s manual.
- Disconnect the motor from the main power supply.
- Once you’ve located the switch, carefully disconnect the damaged relay.
- If replacing the switch doesn’t resolve the issue, replace the blower motor relay.
These guides often include troubleshooting steps that help you narrow down possible issues. Follow the guide’s troubleshooting advice.
If these don’t yield results or there are no instructions, spend some time evaluating the fan’s functionality.
Does it engage in one position but not another? Does it turn on and off when you jiggle the switch? Check the fuse panel for loose, missing, or damaged components and replace as needed.
Use the schematics included in your owner’s manual to locate a path to the relay. Allen wrenches, a deep-socket set, a small flashlight, and a few screwdrivers might be needed to navigate through the motor’s inner workings.
The connector itself is usually a small black box with wires of various colors running from both ends.
Plastic connectors often secure relays into the system’s housing. Use pressure to disengage these mechanisms without rendering them unusable.
Install the replacement switch. Perform a test to ensure a proper connection.
Locating the correct relay can be tricky. Look for terms such as a blower, AC, or cooling fan relay on your schematics to point you in the right direction.
Bring your damaged relay with you to the automotive or electronics shop to ensure you’re getting the right part for your blower motor.
Blower Motor Relays and Delay-on-Break Timers at Amperite
The blower motor relay is a small but vital component in all HVAC systems.
When troubleshooting efforts point towards a compromised relay, a simple replacement job quickly brings your systems back online.
Amperite supplies time delay relays that fit blower motors and delay-on-make components that increase the efficiency and functionality of your climate control equipment.
Our blower motor relay applications include:
Air Conditioning System
A normally closed delay-on-break TDR can be used to hold the blower motor in operation for a specified time after the cooling compressor has been turned off by the thermostat.
This allows the residual cooling effect in the evaporator coil to be used to provide additional BTU’s of cooling after the compressor has stopped.
Blower Motors
A normally open delay-on-make timer can be used to operate a blower motor which is to be delayed for a specified amount of time after an electric, gas, or oil heater has been started.
This avoids movement of cold air into a room that is occupied by people.
Find your new HVAC system parts at Amperite. For questions or more information on blower motor relays, feel free to contact us.

